Pyrite absorbs energy from everything it touches, your skin, your desk, the room it sits in. Over time, that buildup dulls the stone’s natural vibrancy and, for those who use it intentionally, its energetic presence. Knowing how to cleanse pyrite crystal properly matters because pyrite reacts poorly to methods that work fine on other stones. Submerge it in water, for example, and you risk iron sulfide oxidation that permanently damages the surface.
At Natural Pyrite UAE, we work with authentic, high-luster pyrite daily, sourcing it, shaping it into handcrafted bracelets and statement décor pieces, and shipping it across Dubai, Abu Dhabi, and the wider Emirates. That hands-on experience has taught us exactly what keeps pyrite looking sharp and feeling energetically reset, and what quietly destroys it. Every method we recommend here is one we’ve tested on our own stones before it ever reaches a client’s executive desk or wrist.
This guide covers the safest and most effective ways to energetically cleanse your pyrite, physically clean it without causing damage, and charge it back to full strength, all at home, with items you likely already own. Whether you just unboxed a Money Magnet Pyrite Bracelet or you’ve had a Seven Running Horses frame anchoring your office for months, you’ll walk away with a clear, step-by-step routine you can repeat as often as needed.
What makes pyrite tricky to cleanse
Pyrite sits in a different category from quartz, amethyst, or selenite when it comes to cleansing. Its chemical composition, iron sulfide (FeS₂), reacts with moisture in ways that permanently alter the stone’s appearance and structural integrity. That’s not a minor inconvenience. It means several of the most common crystal cleansing methods, the ones you’ll find on general crystal guides, are genuinely harmful to pyrite and will damage a well-sourced stone over time. Understanding why helps you skip the mistakes entirely and get straight to what works.
The chemistry behind the risk
When iron sulfide meets water or high humidity, it begins to oxidize. The reaction converts iron sulfide into iron sulfate and sulfuric acid, which causes the surface of your stone to develop a yellowish-orange crust, crack at the edges, or crumble in severe cases. This is exactly why soaking pyrite in saltwater or moon water, two standard techniques used widely for other crystals, is something you should never attempt with pyrite.
Saltwater is one of the most damaging substances you can expose pyrite to. It accelerates oxidation and can permanently dull or destroy a stone’s natural metallic luster within a single session.
Even brief contact with standing water or prolonged humidity carries real risk. If you live in Dubai or Abu Dhabi, where ambient humidity spikes sharply during summer months, that environmental moisture already puts consistent pressure on unprotected stones. Storing pyrite in a humid bathroom, near a kitchen sink, or by an open window during the wetter season creates slow, cumulative surface damage you won’t notice until the stone is already compromised.
Surface sensitivity and physical structure
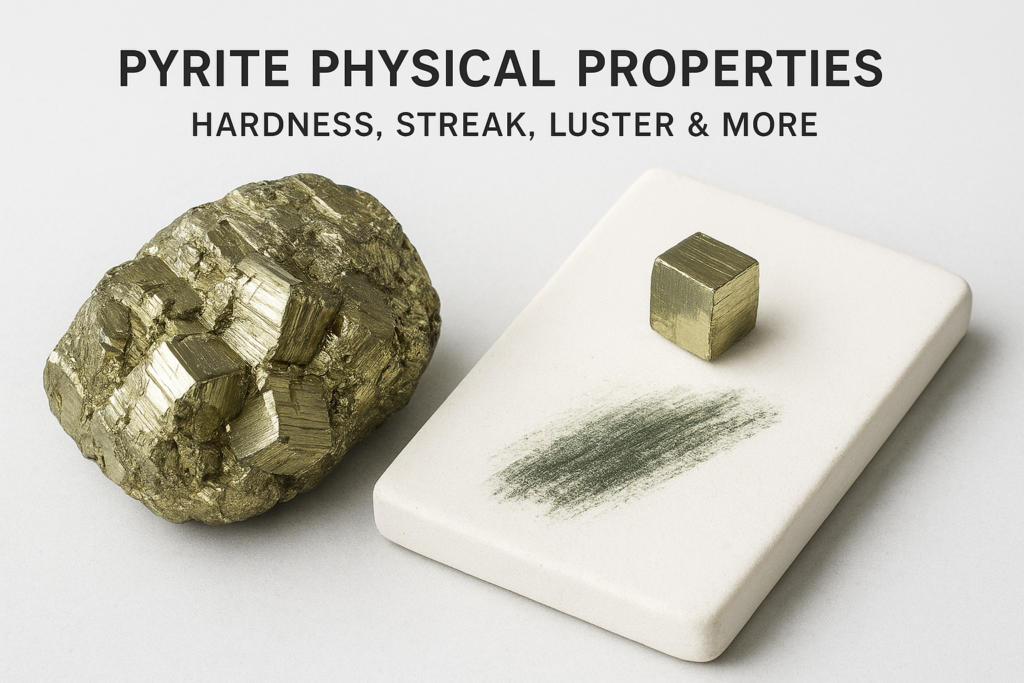
Pyrite rates 6 to 6.5 on the Mohs hardness scale, which sounds reasonably solid until you consider that common household materials, including glass, steel tools, and unglazed ceramic surfaces, sit at or above that range. Pyrite’s cubic crystal structure, while visually striking, is prone to cleavage and edge chipping when rubbed against hard surfaces or dropped from even a short height. That matters during physical cleaning because aggressive scrubbing or stiff-bristled brushes will scratch the metallic faces you’re trying to protect.
The same cubic geometry that creates pyrite’s signature mirror-like faces also produces small internal stress points throughout the stone. Thermal shock, such as running cold water over a stone that’s been sitting in direct afternoon sunlight, can generate micro-fractures that spread invisibly until the stone eventually splits. That’s one more reason why learning how to cleanse pyrite crystal the right way protects a genuine long-term investment, especially if you’re working with a handcrafted piece built around a high-luster specimen.
What this means for your cleansing approach
You’ll rely on dry methods, smoke-based techniques, and sound or crystal proximity for energetic cleansing, and controlled light for charging. That narrows your toolkit compared to what you might use for softer or more water-tolerant crystals, but the methods that remain are fully reliable and repeatable. Each step in this guide is built around pyrite’s specific chemical and physical constraints, so you can reset your stone’s energy and maintain its surface condition with precision rather than guesswork.
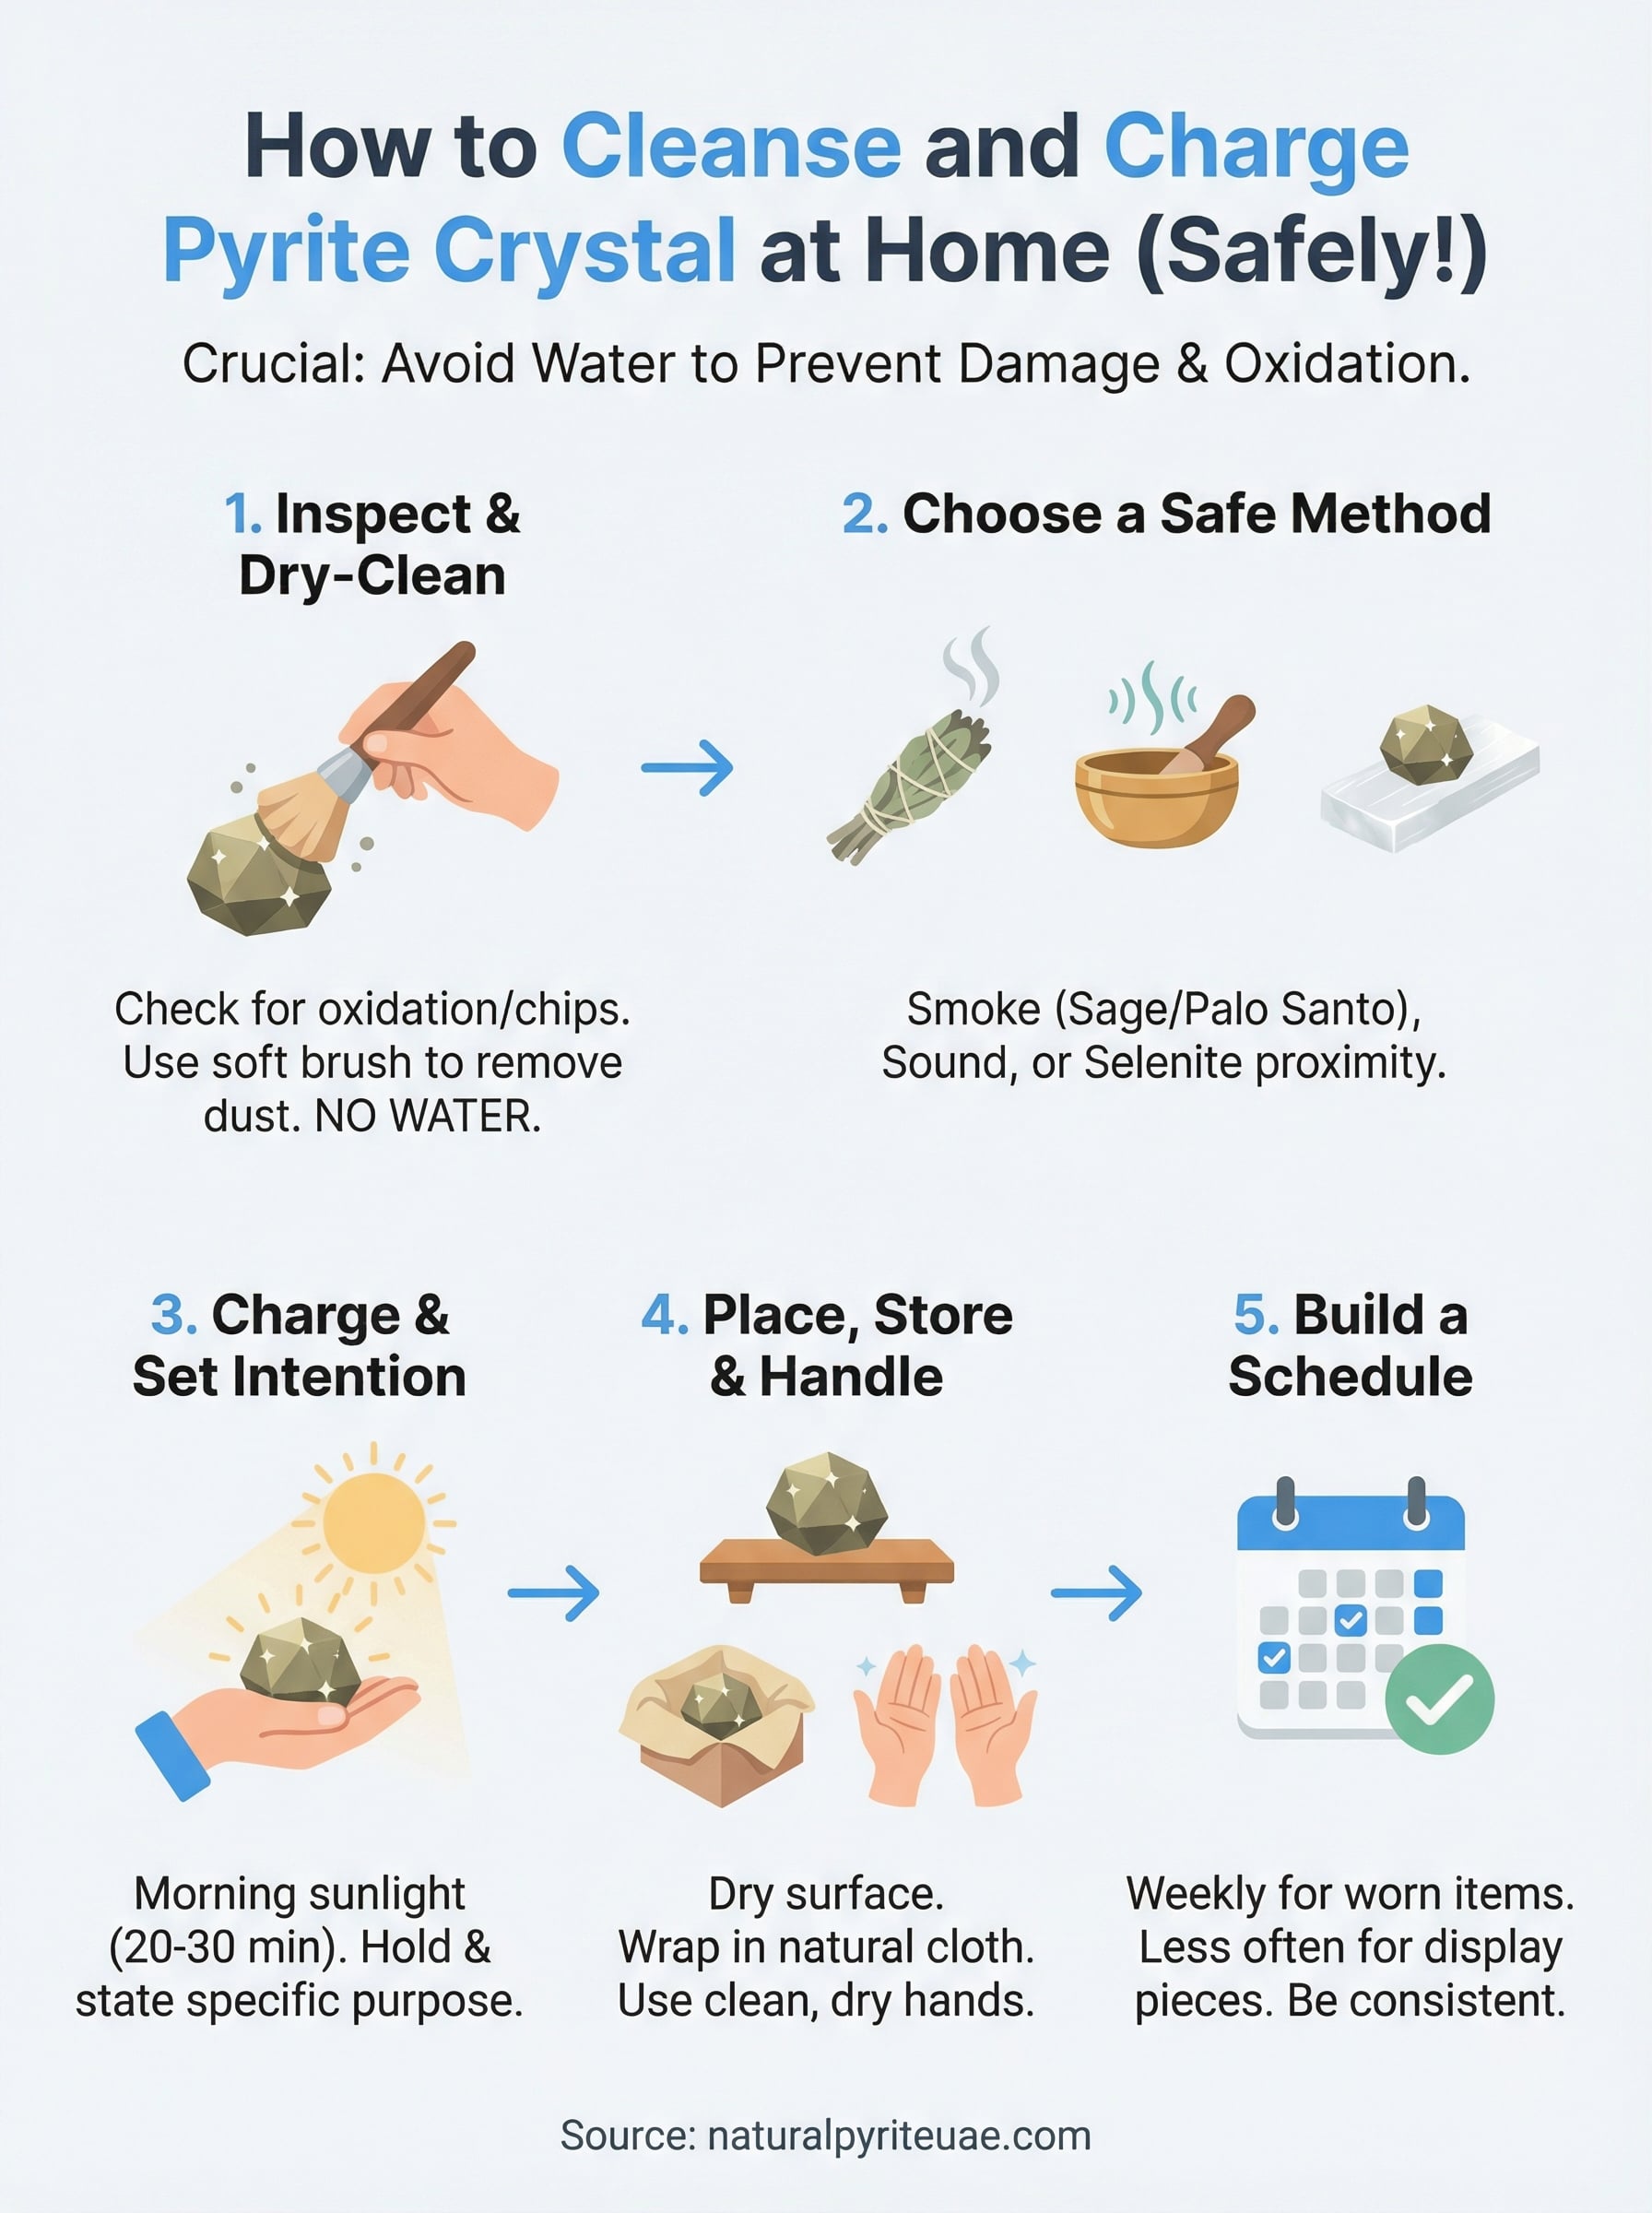
Step 1. Inspect and dry-clean your pyrite
Before you do anything energetic with your stone, you need to assess its physical condition. Energetic cleansing on a damaged or dirty stone is far less effective, and some surface contaminants, like residue from skincare products or environmental dust, can mask the stone’s natural metallic faces and trap moisture against the surface. Inspection takes two minutes and tells you exactly how to proceed.
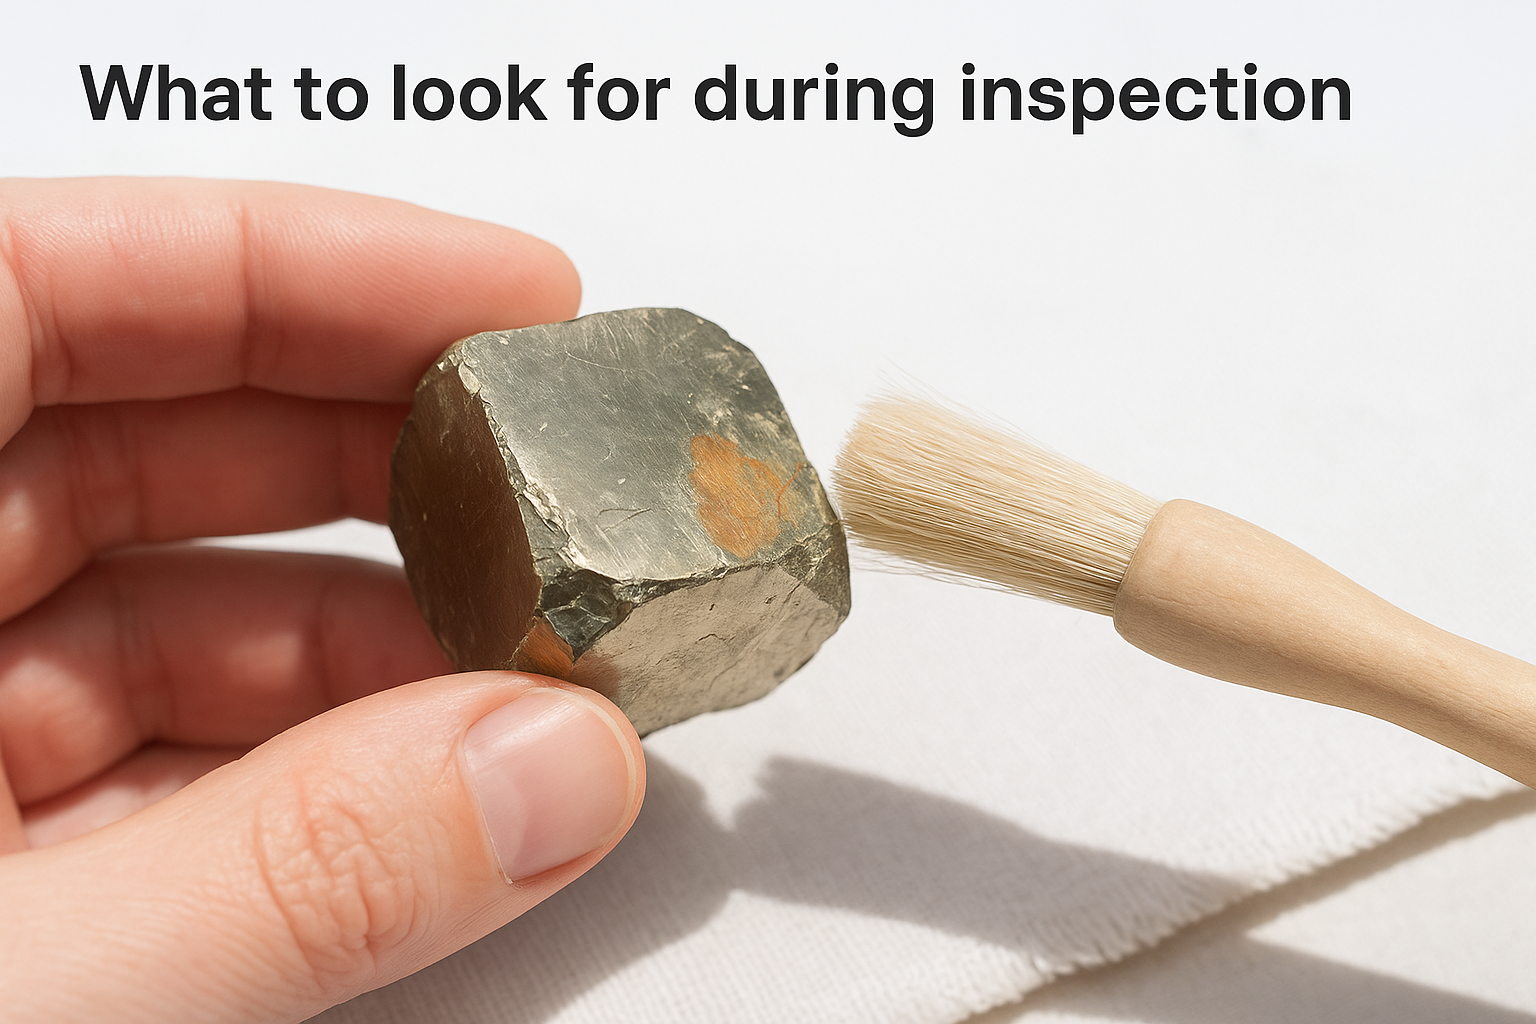
What to look for during inspection
Hold your pyrite under bright natural or artificial light and rotate it slowly. You’re checking for three things: surface discoloration, edge chips, and moisture damage. Discoloration that appears as orange or yellow crusting anywhere on the stone indicates oxidation already in progress. If you spot this, that area needs gentle removal before any cleansing method, since adding smoke or light to an oxidizing stone does nothing to stop the chemical reaction underneath.
If you notice significant orange crusting, crumbling edges, or a sulfur-like smell, stop and consult a specialist before attempting any cleaning. These are signs of advanced oxidation that require targeted intervention, not a standard home routine.
Check your bracelet clasps or any metal settings attached to the stone if your pyrite is part of a jewelry piece. Moisture trapped between metal and stone accelerates surface damage faster than almost any other cause.
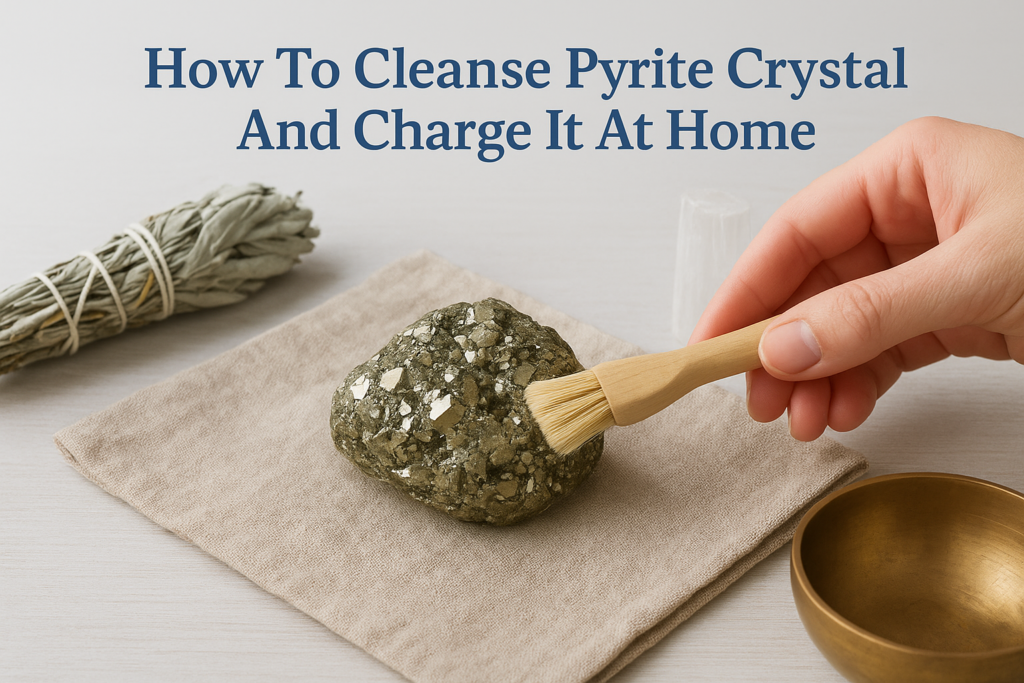
How to dry-clean the surface
Dry-cleaning means removing loose dust, skin oils, and particulate buildup using nothing but mechanical action. You need a soft-bristled brush, ideally a natural hair artist’s brush or a clean, unused makeup brush with fine bristles. Work in short, light strokes from the center of each face outward toward the edges. Never scrub in circular motions, which can introduce micro-scratches across the metallic surface.
Use the following checklist each time you dry-clean your stone before moving on to how to cleanse pyrite crystal energetically:
- Brush each flat face separately with 4 to 6 light strokes
- Rotate the stone and check edges for trapped debris
- Wipe the brush on a clean dry cloth between passes
- Inspect the stone one final time under bright light
- Set it on a dry, lint-free cloth while you prepare the next step
Dry-cleaning takes under three minutes and sets a clean baseline for every energetic method that follows.
Step 2. Choose a safe cleansing method
With your pyrite physically clean, you’re ready to address the energetic layer. The core principle for how to cleanse pyrite crystal energetically is straightforward: keep everything dry. Three methods consistently deliver reliable results without risking the surface, smoke cleansing, sound cleansing, and selenite proximity. Your choice depends on what you have available and which approach fits your current routine.
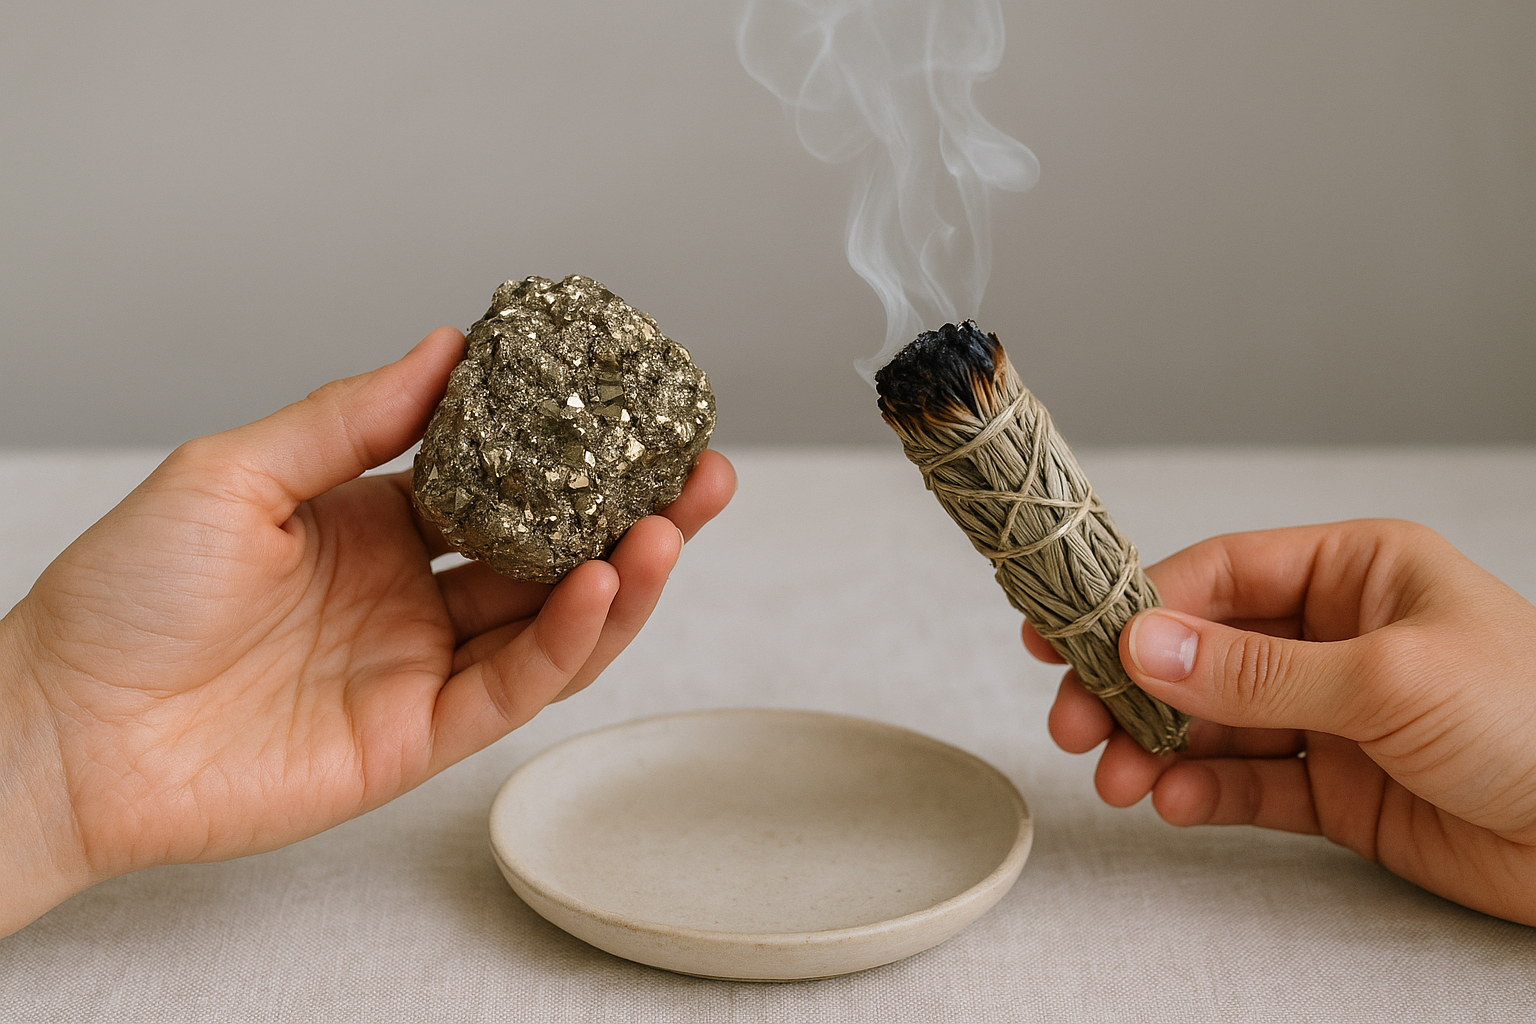
Smoke cleansing
Smoke cleansing with sage, palo santo, or dried rosemary is one of the most effective dry methods for pyrite. Hold your stone in your non-dominant hand and pass it slowly through the smoke for 30 to 60 seconds, rotating it so every face gets exposed. You don’t need to hold the stone directly over the flame or in thick smoke. A thin, steady stream moving across the surface is enough to shift stagnant energy without exposing the stone to heat or moisture.
Work near an open window when smoke cleansing. Ventilation keeps the smoke moving and prevents residue from settling on the stone’s metallic faces.
Make sure your burning bundle or incense stick sits in a heat-safe dish before you pick up the stone. You want both hands stable and the process controlled. After 60 seconds, set the pyrite on your dry cloth and let it rest while the smoke disperses.
Sound and selenite proximity
Sound cleansing uses vibration to shift energy, making it one of the most non-invasive methods available. Strike a singing bowl or tuning fork near the stone and let the resonance wash over it for 30 to 45 seconds. You can also place the pyrite beside a speaker playing at low volume for two to three minutes. No contact, no moisture, no risk to the surface at all.
Selenite proximity works by placing your pyrite directly on or beside a selenite slab or wand for at least four hours, with overnight being the most effective window. Selenite is one of the few crystals that cleanses other stones passively, requiring no monitoring on your part. This method suits a weekly overnight routine far better than a quick reset before a meeting, so factor that into your schedule when you plan ahead.
Step 3. Charge and set your intention
Cleansing removes accumulated energy from your stone. Charging fills it back up with directed, purposeful energy, and for pyrite specifically, that combination is what keeps the stone working at its highest level. Skipping the charging step after you’ve learned how to cleanse pyrite crystal is like clearing a workspace and then leaving it empty. You want to give your pyrite a specific energetic direction, not just a blank reset.
Charging with morning sunlight
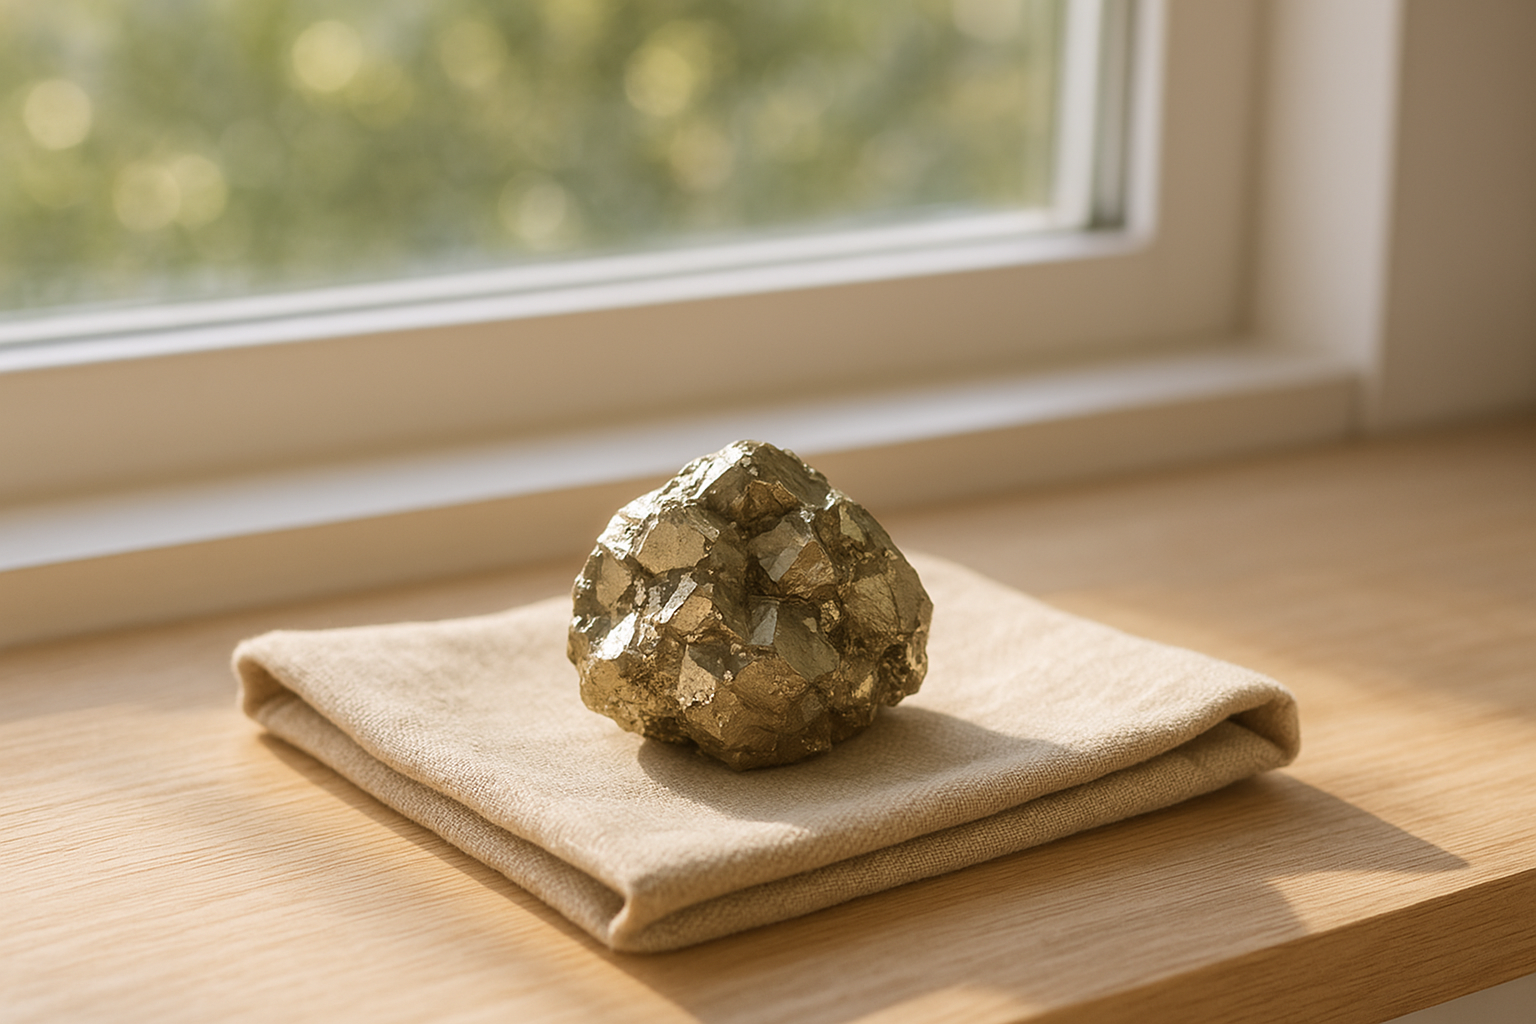
Pyrite responds strongly to direct sunlight, which makes sense given its natural metallic luster and iron composition. Place your stone on a dry windowsill that receives morning sun between 7 and 10 a.m. for 20 to 30 minutes. Morning light carries less intensity than midday sun, which protects the stone from thermal stress while still delivering a full energetic charge. In Dubai and Abu Dhabi, where afternoon sun is extremely intense, morning placement is not just preferable, it is the only window that carries no thermal risk to the stone.
Never leave pyrite in direct sun past mid-morning in the UAE. Summer temperatures combined with intense UV exposure can cause micro-fractures along the stone’s natural cleavage lines.
Keep the stone on a clean, dry surface during charging. A folded cloth or wooden tray works well. Avoid placing it on metal surfaces in direct sunlight, which heats up fast and transfers that heat directly into the stone’s base.
Setting your intention with purpose
Setting an intention is a focused mental and verbal act, not a vague wish. After your stone has charged, hold it in both hands and state your intention clearly, either aloud or in a firm internal voice. Specificity matters here. Use the following template to structure your intention before you begin:
- Stone’s purpose: What is this pyrite meant to support? (Focus, financial clarity, ambition, confidence)
- Your context: Where will it sit or be worn? (Office desk, wrist during meetings, home workspace)
- Time horizon: Over what period do you want this energy active? (Daily, weekly, ongoing)
Repeat your intention two to three times while holding the stone, then place it in its designated position immediately. Moving the stone directly from your hands to its final location reinforces the connection between the intention you set and the environment where it will work.
Step 4. Place, store, and handle pyrite
Where your pyrite lives between cleansing sessions directly affects how quickly it reaccumulates stagnant energy and whether its surface condition stays protected. Getting placement and storage right means you’ll work through how to cleanse pyrite crystal less often, and your stone will hold its luster and charge far longer between full resets.
Choosing the right placement
The best spots for pyrite are dry, stable surfaces away from moisture sources. A wooden desk in a home office, a well-ventilated shelf, or a display cabinet with consistent airflow all work well. Avoid windowsills that collect overnight condensation, bathroom counters, and any kitchen surface near a sink or steam source.
In the UAE, air conditioning units create localized humidity zones directly around their vents. Keep your pyrite at least 60 cm away from any AC output during the heavy summer cooling season to avoid repeated surface moisture exposure that builds up invisibly over weeks.
Pyrite placed in high-traffic areas absorbs ambient energy faster than stones kept in quieter spaces, so expect to cleanse it more frequently regardless of how carefully you handle it.
Safe storage between uses
When you’re not displaying or wearing your pyrite, store it wrapped in a dry natural fiber cloth, such as cotton or linen, inside a wooden or fabric-lined box. Avoid plastic containers, which trap humidity and create a sealed microenvironment that accelerates oxidation. Make sure pyrite doesn’t rest directly against harder stones like quartz or topaz, since those can chip its cubic faces during storage.
Use this checklist each time you put your stone away:
- Dry the surface with a soft cloth immediately after handling
- Wrap in natural fiber before placing in any box or drawer
- Keep stored pyrite away from prolonged direct sunlight
- Never stack heavier objects on top of stored pyrite
- Check stored stones monthly for any early signs of surface oxidation
Handling with intention
Every time you pick up your pyrite, use clean, dry hands. Skin oils, sunscreen, and hand lotion leave a fine residue that traps moisture against the metallic surface and dulls it faster than normal wear alone. After each handling session, give the stone a quick pass with your soft brush before returning it to its designated spot.
This single habit eliminates one of the most common causes of surface buildup between full cleansing sessions and takes under ten seconds. Practiced consistently, it compounds into significantly less corrective work over months of regular use.
Step 5. Build a cleansing schedule
A cleansing schedule removes the guesswork from your maintenance routine and ensures your pyrite never stays in a depleted or energetically congested state longer than necessary. How often you need to work through how to cleanse pyrite crystal depends on two key factors: how frequently the stone is handled and the environment it sits in. High-contact stones accumulate energy faster, while stones kept in quiet display spaces reset more slowly between full sessions.
Set your frequency based on how you use the stone
Pyrite worn daily as a bracelet collects skin contact, ambient energy from meetings, and environmental input throughout every session. That level of exposure calls for a weekly cleansing minimum, ideally every Sunday evening so the stone is fully reset before the working week begins. Pyrite kept as a desk piece in a busy office benefits from a bi-weekly cycle, while decorative statement pieces in quieter residential settings hold their charge well on a monthly schedule. Adjust these baselines based on what you observe in the stone, not just what the calendar says.
If your stone starts to look visibly duller or feels energetically flat before your scheduled cleanse, treat that as your signal to reset early rather than waiting for the calendar date.
Use a repeatable weekly template
A structured template keeps your routine consistent without requiring you to plan each session from scratch. Use this framework and adjust the specific days to fit your own week:
| Day | Action | Method |
|---|---|---|
| Sunday evening | Full energetic cleanse | Smoke cleansing or selenite overnight |
| Monday morning | Charge | 20 to 30 min morning sunlight |
| Monday morning | Set intention | Hold and state purpose clearly |
| Wednesday | Quick dry-clean | Soft brush, 2 minutes |
| End of month | Full inspection | Check for oxidation and edge chips |
Track changes in your stone over time
Keeping a brief written log of each cleansing session takes under one minute and gives you a clear picture of how your pyrite responds to different methods and environments across the UAE’s changing seasons. Note the date, method used, and any observable changes in surface condition or energetic quality after each session. Over three to four months, patterns emerge that let you fine-tune your schedule with real precision, cutting down on unnecessary sessions while catching surface issues before they compound.
Quick wrap-up
Knowing how to cleanse pyrite crystal correctly comes down to one core rule: keep moisture out of every step. From the initial dry-clean through smoke cleansing, sound, or selenite, then into morning sunlight charging and intentional placement, each method in this guide protects your stone’s surface while resetting its energy in a way that lasts. Your storage habits, handling routine, and cleansing schedule all build on each other. When you practice them consistently, your pyrite holds its metallic luster and energetic clarity far longer between full sessions.
The five steps above apply whether you own a single small specimen or a statement piece anchoring an executive office. Authentic, high-luster pyrite responds to attentive care in direct proportion to the effort you put in. If you’re looking for a well-sourced stone worth that care, browse the handcrafted pyrite collection available across the UAE and find the piece that fits your space and intention.